
Make Your Christmas Lights Look Professionally Installed (DIY)
How to Make Your Christmas Light Display Look Professionally Installed (DIY Guide)
You don’t need a crew or a boom lift to get that clean, pro look. Focus on three things: where you place lights, how you attach and present them, and what lights you use. This guide shows you exactly how to plan, install, and fine-tune a display that looks professionally done—on a DIY budget.
What Makes Pro Displays Look… Pro?
1) Placement that maximizes curb appeal
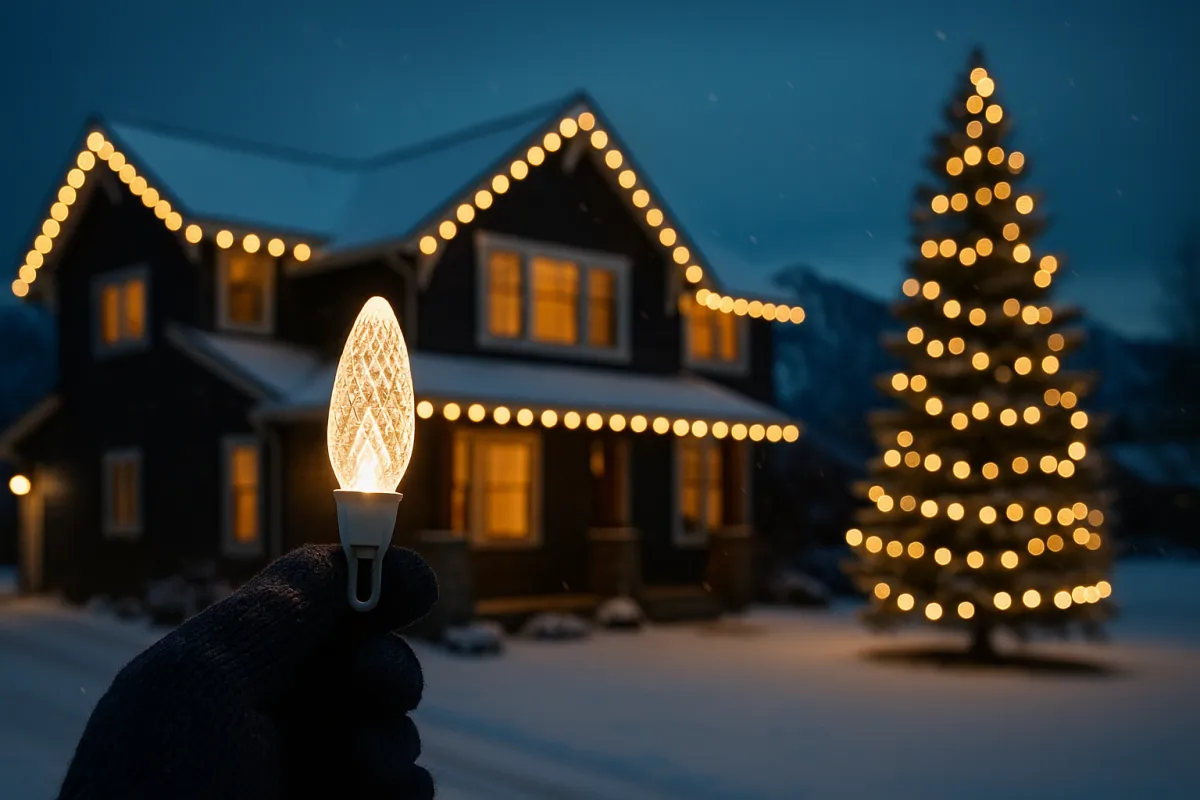
Pros outline the fascia/roofline and highlight one or two feature trees. That combo makes the entire front look finished with the fewest feet of lights.
2) Attachment that creates straight, uniform lines
Each bulb (not the wire) is clipped so spacing is even and every lens points the same direction. Result: razor-straight lines with no visible sag.
3) The right product for the job
For rooflines, use C9 LED bulbs with 12" spacing. For trees, use mini/string lights. Choose outdoor-rated gear, GFCI power, and weather-protected connections.
Plan Your Design (Fast Win = Fascia + One Feature Tree)
Fascia/Roofline
Outline eaves, peaks, and ridges you can access safely.
Keep it continuous—avoid random starts/stops.
Match color temperature (e.g., all warm white 2700–3000K) so the house reads as one display.
Feature Tree
Pick a tree that stands alone with flat, safe ground around it.
Evergreens (spruce, pine) are ideal; leafless trees can work too.
Pro-Looking Trees From the Ground (No Ladder Method)
Tools
Lightweight telescoping pole (15–20 ft).
A 1–3 ft stick taped across the pole to form an “X” (creates two “V” hooks to push/pull the line).
Mini/string lights, outdoor extension cord, electrical tape.
Steps
Test lights first and leave them plugged in during install.
Tape the cord-to-light connection so it can be lifted together.
Use the top “V” of your pole to lift the taped connection to the top of the tree.
Grab the light line 5–10 ft from the top connection and walk in circles, loosely wrapping around the tree.
Check spacing every few passes; aim for even spirals (for a 12–20 ft tree, ~8–12 wraps looks great).
Tape inter-set connections so they don’t pop loose; this also makes takedown easier.
Pro tip: Starting at the top makes removal simple—walk back while gently pulling the line and cord together.
Safety: Stay on the ground. Skip trees near power lines or on uneven/icy terrain.
Roofline Like a Pro (Straight, Even, and Safe)
When to Do It Yourself
Only on walkable, low-slope roofs with good shoes and a stable ladder.
If that’s not you, do the trees/ground elements—or call a pro.
Tools & Materials
C9 LED bulbs (faceted lens, 12" spacing).
All-in-one clips for gutters/shingles (aligns bulbs and speeds install).

Outdoor extension cords, GFCI outlet, weather covers, electrical tape, timer/smart plug.
Steps
Measure eaves, ridges, and peaks. Add ~25% buffer for corners, slack, and transitions.
Plan power: start near a GFCI; keep connections off the ground and protected.
Clip bulbs, not wire—every 12–16"—so lenses face the same direction.
Test as you go before moving the ladder.
Label zones for an easy takedown.
Custom Lengths on a Budget (Using Big-Box LED Strings)
Commercial cut-to-fit systems look perfect but cost more. If you’re using pre-assembled big-box LED strings, here’s how to handle extra length cleanly:
Option A: Create an “unlit tail”
At the end of a run, turn off bulbs you don’t want lit, and use that section as a jumper to the next start point.
Hide the coil on the roof or behind a downspout.
How to Turn Off Bulbs (Two Common Cases)
Case 1: “One goes out, the rest stay on.”
Remove the LED diode in the bulbs you want dark (or cover the lens with electrical tape). Replace the plastic shell so sockets stay sealed.Case 2: Pulling one bulb darkens a whole section.
Your set has resistor sections (e.g., 5–10 bulbs per section). To darken only the tail, locate the next resistor bump and remove the first bulb after it to cut just that section. For any leftover lit bulbs, tape over their lenses.
Keep water out: always put the plastic bulb shell back on after removing a diode, and tape all connections.
Clips, Spacing, and Orientation (The Secret Sauce)
C9 LED, 12" spacing is the sweet spot for rooflines—bright and elegant without clutter.
All-in-one clips align each bulb and speed removal.
Keep bulbs oriented the same way for a uniform look.
Avoid mixing color temperatures (e.g., cool and warm white).
Power & Safety Essentials
Use outdoor-rated products and GFCI outlets only.
Keep total load under manufacturer limits; check the watts per set on the packaging.
Keep connections off the ground and weather-protected.
Never work on wet/icy roofs or in high winds.
Common Mistakes to Avoid
Sagging lines; wire clipped instead of bulbs.
Inconsistent spacing or random starts/stops.
Mixing incandescent with LED or mismatched whites.
Visible piles of cord without hiding them.
Skipping GFCI and weather protection.
Tools We Like
Telescoping pole (15–20 ft): lightweight aluminum extension pole (Amazon Link).
All-in-one clips: gutter/shingle compatible (Amazon Link).
When to Call a Pro
Skip the roof if it’s steep, icy, or you’re not confident. We design, custom-cut, install, remove, and store roofline lights across Northern Colorado. Get a quick quote and stay safely on the ground.
FAQ
What spacing should I use for rooflines?
12 inches for C9 LEDs—clean, bright, and efficient.
How many wraps on a 12–20 ft tree?
Usually 8–12 spirals looks full without overdoing it.
Can I mix different whites?
Avoid it. Stick to one color temperature so the house reads as a single design.
Ready for a Pro Look?
If you need assistance or professional services for your holiday lighting, feel free to contact us at Lighting Colorado’s Christmas. Our team is here to help bring your festive visions to life!
