
Install Christmas Lights on Trees
How to install Christmas lights on trees
It’s almost Christmas, and you want the trees around your house to be looking festive. Great, Christmas cheer is our specialty! Let’s go over the process of putting up lights in trees.
The pole or stick
The first thing you’re going to need is a long pole that can reach up to the top of the tree. Go with a lightweight material like fiberglass (pool cleaners are great), because a long metal or wooden pole will get really heavy, and you’ll need to be very nimble in order to lay lighting down in an organized manner. Look for one that is extendable, so you can reach up to the top of a second story building, but also use it for shorter reaches too.
Fashion some sort of cross by duct taping a rod, stick or screw driver almost perpendicular to the end of the pole. This will allow you to pick up the lighting lines and move them around. It would be virtually impossible to do with a straight pole. This will also be helpful for pulling down clips from roof lines.
Pro tips before installing
Make sure to do an extra thorough job of taping connections between electrical lines. Otherwise, they might get tangled or stuck in branches. When you start installing, you’ll want to have the extension cord at the top of the tree. It will make take down a lot easier.
For storing lights, it’s easiest to roll strands up into a ball starting with the female end. By keeping the male end available at the outer end of the ball, you’ll be able to plug in the line to make sure everything is working properly. Storing like this also helps to keep lines from getting tangled.
Leave the lights plugged in while you are installing them. This gives you an opportunity to catch any lights that are out so you can fix the problem on the ground.
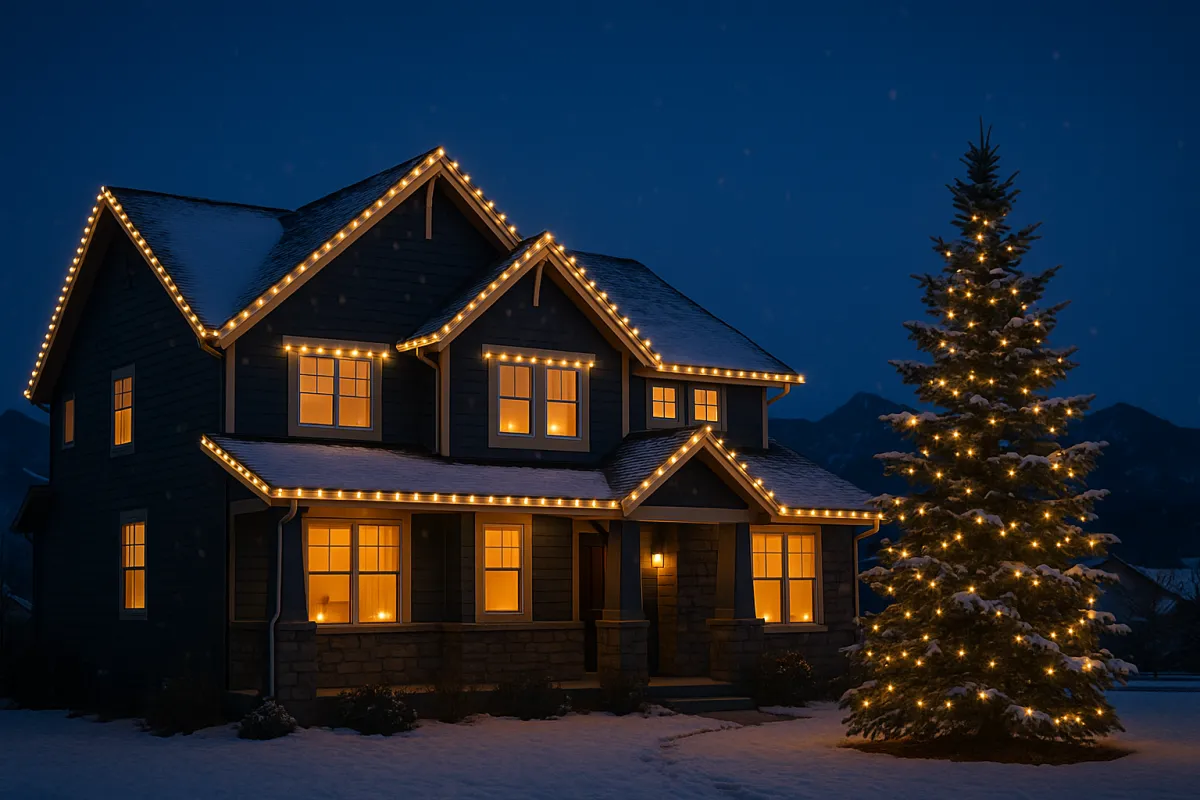
The whole tree wrap
The first spot you should anchor is where the extension cord meets the light strand. Place that connection in the highest V of the tree that’s strong enough to support the strand. Don’t start in the middle—pick a side and start there.
Once that first anchor is set, unravel the lights around the tree so you have plenty of slack to work with. Use the pole to lift the lights into the V’s, leaving slack between anchor points. The slack creates a better drape and keeps the lights from sliding toward the trunk, where they’re harder to see.
Work your way around the tree until you reach the lowest branch. Tie the strand in toward the trunk. It doesn’t need to be super tight—just snug enough to handle your local wind.
Doing this with a partner is faster and easier. One person uses the pole to hang the lights while the other unravels the strand and keeps slack available. The higher the hang point, the farther back the helper should stand.

Trunk and branch wrap
Trunk and branch wraps look best with a high density of lights. Using LEDs helps prevent circuits from overloading. Start at the main trunk, then move to the branches—largest to smallest—to keep the layout balanced and natural. Another way to stay even: imagine the canopy from above, divide it into four quadrants, lay out the lights evenly per quadrant, then install on the matching branches.
Test first. Plug the lights in before you start. Better to learn a strand is dead on the ground than on a ladder (unless you really enjoy extra steps).
Begin wrapping the trunk and use your hand width as a quick gauge for spacing between wraps. It’s not exact science, but consistent spacing looks cleaner. When you reach the end of a strand, plug in the next and keep going.
Watch for the dark lead at the beginning of many strands. If yours has one, loop that lead into the first lit bulb (leave a small slack loop) so there’s no gap at the start of the wrap.
For branches, plan to go out and back with the same strand, then return to the trunk and continue to the next branch—one continuous line for the whole tree. Because each branch is wrapped twice, make your first pass about half as tight as you want the final look; the return pass will fill the gaps. On the way back, don’t cross existing wraps—keep the outbound and return runs on opposite sides so they form a neat, parallel helix.
Storing lights in coiled balls pays off here. It keeps the line manageable around complex branching and prevents tangles. Total game changer.
If you need assistance or professional services for your holiday lighting, feel free to contact us at Lighting Colorado’s Christmas. Our team is here to help bring your festive visions to life!
